Last Updated on 1 year by admin
This guide will provide a step-by-step tutorial on how to remove duplicates in Excel. Let’s get started
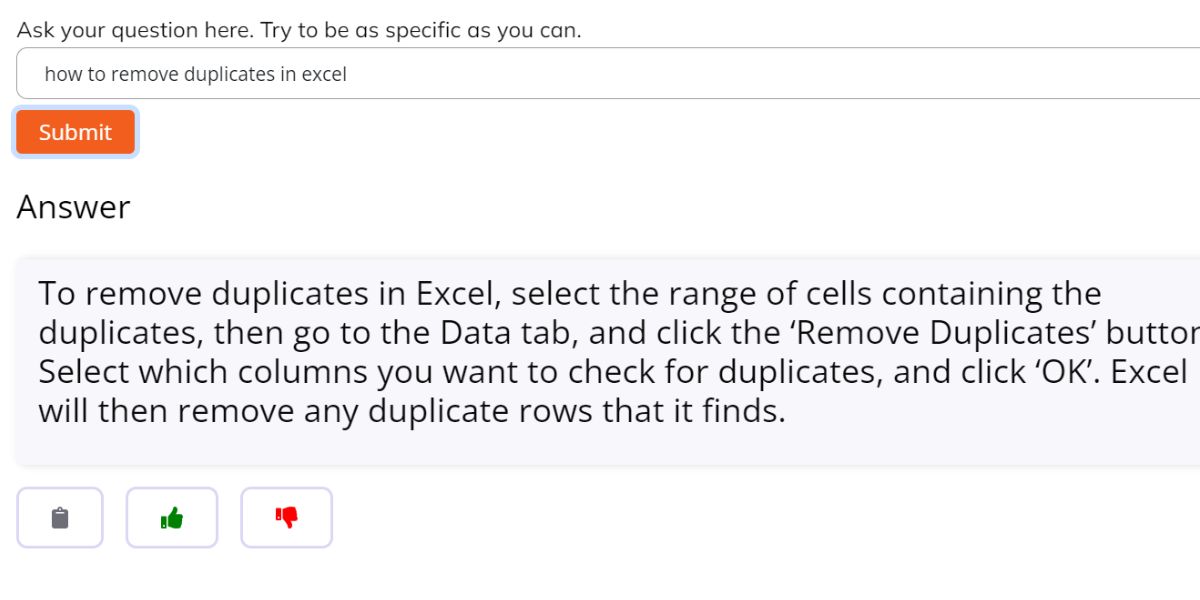
At FormulaGenerator, we understand the importance of data accuracy and organizing your spreadsheet. That’s why we provide a tool that uses ChatGPT to generate formulas or regex from text descriptions and provide explanations of complex functions, making it easier to remove duplicates in Excel. Just talk to our AI instead of wasting time on search engines!
Step 1: The first step is to select the data range you want to remove duplicates from. To start, click on the upper left corner of your data range and drag the cursor to the bottom right corner. This will highlight the entire range of cells.
Step 2: Open the “Remove Duplicates” window. Once you’ve selected the data range, click the “Data” tab at the top of the Excel window. This will open a drop-down menu. Select “Remove Duplicates” from the menu. A new window will open.
Step 3: Select the columns Next, you need to select the columns that you want to remove duplicates from. To do this, check the boxes next to the column headers. If you want to remove duplicates from all columns, you can simply check the box at the top of the window that says “Select All”.
Step 4: Remove duplicates Once you’ve selected the columns, click the “Remove Duplicates” button at the bottom of the window. This will remove any duplicate entries in your selected columns.
Step 5: Confirm the results After you’ve removed the duplicates, Excel will display a confirmation message. This message will show you the number of duplicates that have been removed. You can then click “OK” to close the window.
You’ve now successfully removed duplicates in Excel. Next, Try asking this question to our AI and see what it says!

